Monday, August 8, 2022

Beginning of August Garden Update 2022

 I haven't posted a beginning of August garden update yet. By no means am I proud of every aspect of my garden. Quite to the contrary. There are parts of it that I'd rather just be done with, but the plants are alive and we will continue to care for them. I had some zucchini going, but the deer got them. I have a few little cucumbers. These are things that will be going into my new greenhouse next year. We just purchased a 20 foot long one. I'm more than doubling my greenhouse space. I have to. The critters got my cucurbits, my peppers, my corn and they would have my pole beans stripped if it weren't for Bob covering them with bird netting.
So this is what's going on now.


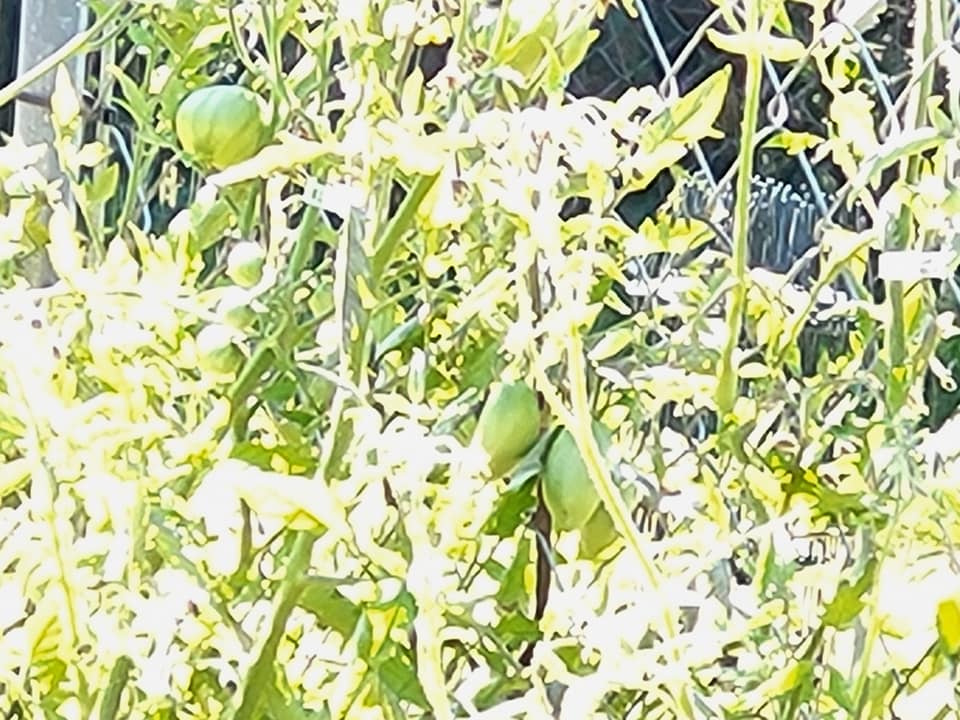
We have all sorts of tomatoes on the plants. None have ripened yet. I also included a photo of that volunteer er..tomato, too.


These are my rhubarb plants and my tomato bin.


The rhubarb are shaping up nicely. I've gotten around a quart or so from the 2 plants.


These are Scarlet Runner beans on the trellis. They are just starting to bloom.


Another shot of my rhubarb bushes. I want to add around 5 or so more.


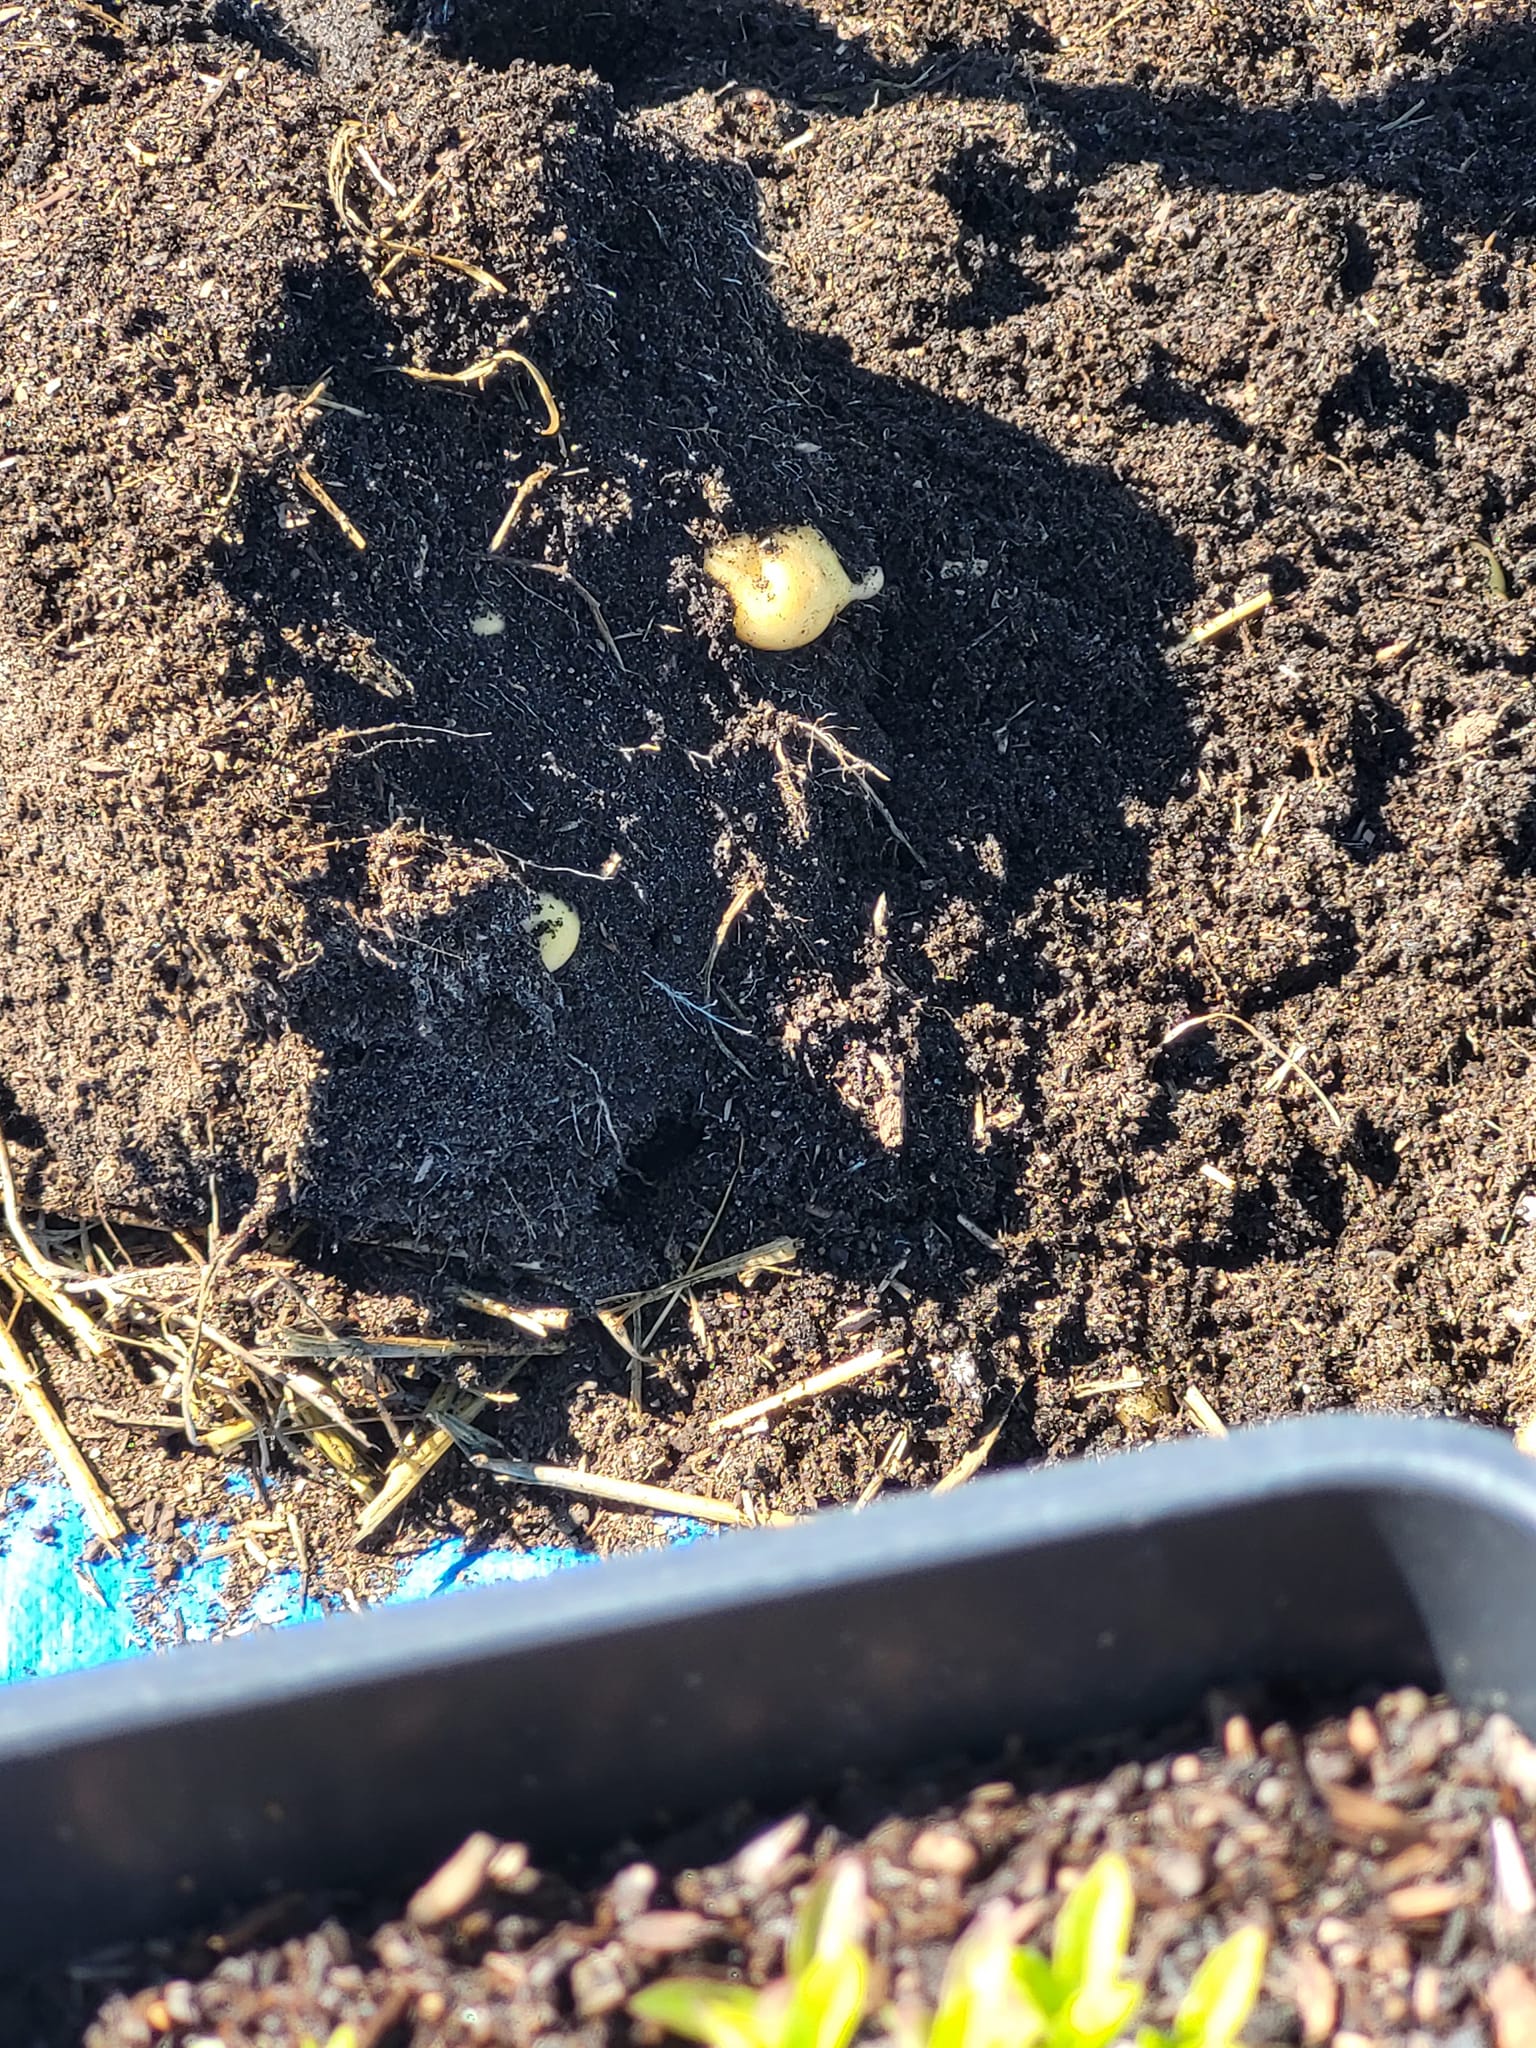
This is a Cannellini bean. I'm growing these out for someone although I don't think I'm going to be able to send back the agreed amount of beans to that person this year. I may have to just save these and try again next year. That soil sure put me behind the 8-ball.


This is another bean variety that I'm growing for someone. These are called Senate Navy Soup beans. Again, horrible soil. 


My eggplant look completely and utterly pathetic. I bought these all as starter plants and planted them over where the carrots didn't come up. I have 4 plants and I have 3 eggplant between all 4. This is the Ichiban variety.


This is the Casper variety. I've never eaten a white eggplant before.


This is an eggplant bloom. This is on my Black Beauty eggplant.


We harvested the biggest cabbage. We're letting these go for a bit longer. These will get harvested soon. We are going to be going through our freezers and making up a care package of raw meat for a dog, so I'll have room to freeze these. One of them is going to my sister.


I'm letting a few of the Walla Walla Sweet onions go to seed. I don't know if any of you have priced seeds for this variety, but they are holy cow expensive, if you can even find them!

The broccoli is about done. I will be growing some more this fall, along with cauliflower.

 I bought 3 clematis bushes. 2 have survived.


I harvested all of the garlic. All of that poor, traumatized garlic that got uprooted and moved up here and replanted. I'm surprised that I even got any at all, if the truth be told.


I'm curing it in the greenhouse. It's a good place for it to do that. I ordered another half pound of seed garlic. It should arrive next month some time.


Baby cucamelons!! I think I just may see a little bit of a harvest on these!


These are my Tigger melon vines. They are loaded with blooms, but I don't know if I will be able to get them to fruit.


This is the row of pots that I have growing in the greenhouse. I can't wait to get that other one up here and put together. We're thinking about how we can really stabilize this one so that I can grow through the winter.

Another baby cucamelon. I really enjoyed the 4 I got last year when I grew them.


Baby okra starting out. I've harvest a dozen or so pods already. Okra will always have a place in my greenhouse from now on.
I ordered a couple of new varieties to try next year.

These Jing Orange okra are stunning looking plants.


This is an Okinawa Pink okra. I contemplated ordering these seeds from Baker Creek, but I ultimately decided not to. The Jing Orange had many more positive reviews and they weren't anywhere near as expensive.


This is my Siamese bitter melon. I ordered seeds so that I could grow this again next year. I obtained the seeds I planted this year from a trade.


I left the cups in the pots because they help me to keep the vines separated.

I hope you enjoyed the garden tour!

Saturday, August 6, 2022

Grow Bag Potato Harvest

 We had planted out 9 grow bags of potatoes last year. We wound up not harvesting 3 of them. They were the ones that I planted out with Yukon Golds. I can't remember exactly why we didn't, I just know that we didn't. Those potatoes went through quite a bit. Floods, rains, snow, being moved, etc. We figured we'd leave them alone and just see what they would do this year. We didn't feed them or anything. All I did was put a bit of straw on the top to cover up the green leaves.

Today, we decided to harvest.


I grow potatoes in a very loose medium. It consists mostly of junk I got from under trees out in the woods. I've been using the same medium for the past 3 years or so. I get decent results. I wasn't expecting much from these bags, but they did surprise me.


When I went outside, Bob had already dumped the first bag. This was the result. Keep in mind that these were not fed and were leftover from last year.


Then he emptied the second bag. We are saving the growing medium to use again next year. It works quite well. I'll actually feed them next year.


I don't know what it is about digging the potatoes but it's like digging for buried treasure.

Here's more of the second grow bag results.


And even more. Bob has a great system in place for growing through and gleaning the potatoes.


Once he's completely gone through the growing medium and he's put the potatoes in the box, he funnels the growing medium back into the grow bags.


Results. That's all I can say. I'm impressed with the results.

The final grow bag is revealing it's Yukon Gold treasures.


Unearthing the final grow bag's results.


Come out, little potatoes! We know you're hiding in there!


I think we got the highest number of potatoes from the third bag.


More little Yukon Gold treasures.


Rose wanted to help. She's a good farm helper.
Once everything was said and done, we wound up with about 4-5 pounds of Yukon Gold potatoes that we don't have to buy from the store at 99 cents per pound.
Not too shabby.

Thursday, August 4, 2022

Marionberry Cobbler Baked On The Grill

 It's marionberry season here in the Pacific Northwest. Marionberries were created at Oregon State University and they are a cross between two blackberry varieties. They have notes of raspberry in the taste and I look forward to getting them every summer. I make jam, BBQ sauce and, one of our favorites, cobbler.

I do not use my propane oven in the summer. Even with 2 air conditioners going, it would just get too hot. Years ago, I figured out how to bake using the upper rack of a gas BBQ grill.


The batter is sweet. The berries are tart. This just hits the spot when you want something sweet.


I start out by spraying my glass 8x8-inch with non-stick spray.


Then I mix up the batter. The batter is super simple. It only has 6 ingredients.


Then I sprinkle the marionberries over the top of the batter and I sprinkle sugar on the top of those. Not too much sugar over the top, just 1/4-1/3 cup is all you need. The majority of the sugar goes into the batter.


Then we put the baking dish on top of a baking sheet and we put that on the top rack of the gas grill. I can't give you a definite baking time because it's all subjective. I start checking mine around 45 minutes in.


Delicious!

Marionberry Cobbler

4 cups fresh marionberries (or blackberries)
1 cup flour
1-1/2 teaspoons baking powder
1/4 teaspoon salt
1-1/4 cup sugar
1/4 cup melted unsalted butter
1 cup milk (or half & half)

Mix the flour, baking powder and salt with 1 cup of the sugar. Reserve the rest of the sugar.
Mix in the milk and the melted butter and whisk until no lumps remain in the batter and the butter is incorporated into the batter.

Pour the batter into the prepared baking dish. Sprinkle marionberries evenly over the top of the batter. Top the berries with the reserved sugar.
**NOTE! Before you put the berries on the batter, taste one. If you think they will need more than 1/4 cup of sugar, add it in. This is purely to taste.

You can either slide this onto the top rack of your gas grill and bake it until it's gold and bubbly (that reminds me of that movie Steel Magnolias where Truvy is giving Clairie that fruit cocktail recipe) or you could put it into a 350 degree oven for about 30-40 minutes.

Enjoy!